A Practical Beginner’s Guide to Building a Website in Webflow (From Scratch to Publish)
If you’ve never built a website before, the idea can feel overwhelming. The good news is that Webflow lets you design, build, and launch a professional site without writing code. This guide walks you step-by-step from creating an account to publishing your finished website — with clear explanations of the tools you’ll use along the way.
Step 1 — Create Your Webflow Account
- Go to Webflow.com
- Click Get started
- Sign up with email or Google
- Choose the Free plan to begin (you can upgrade later)
Once inside, you’ll land on your Dashboard — this is where all your projects live.
Step 2 — Start a New Project
Click New Site. You’ll see two options:
- Template → Pre-designed layouts you customize
- Blank site → Start from scratch (best for learning)
Choose Blank Site and give it a name.
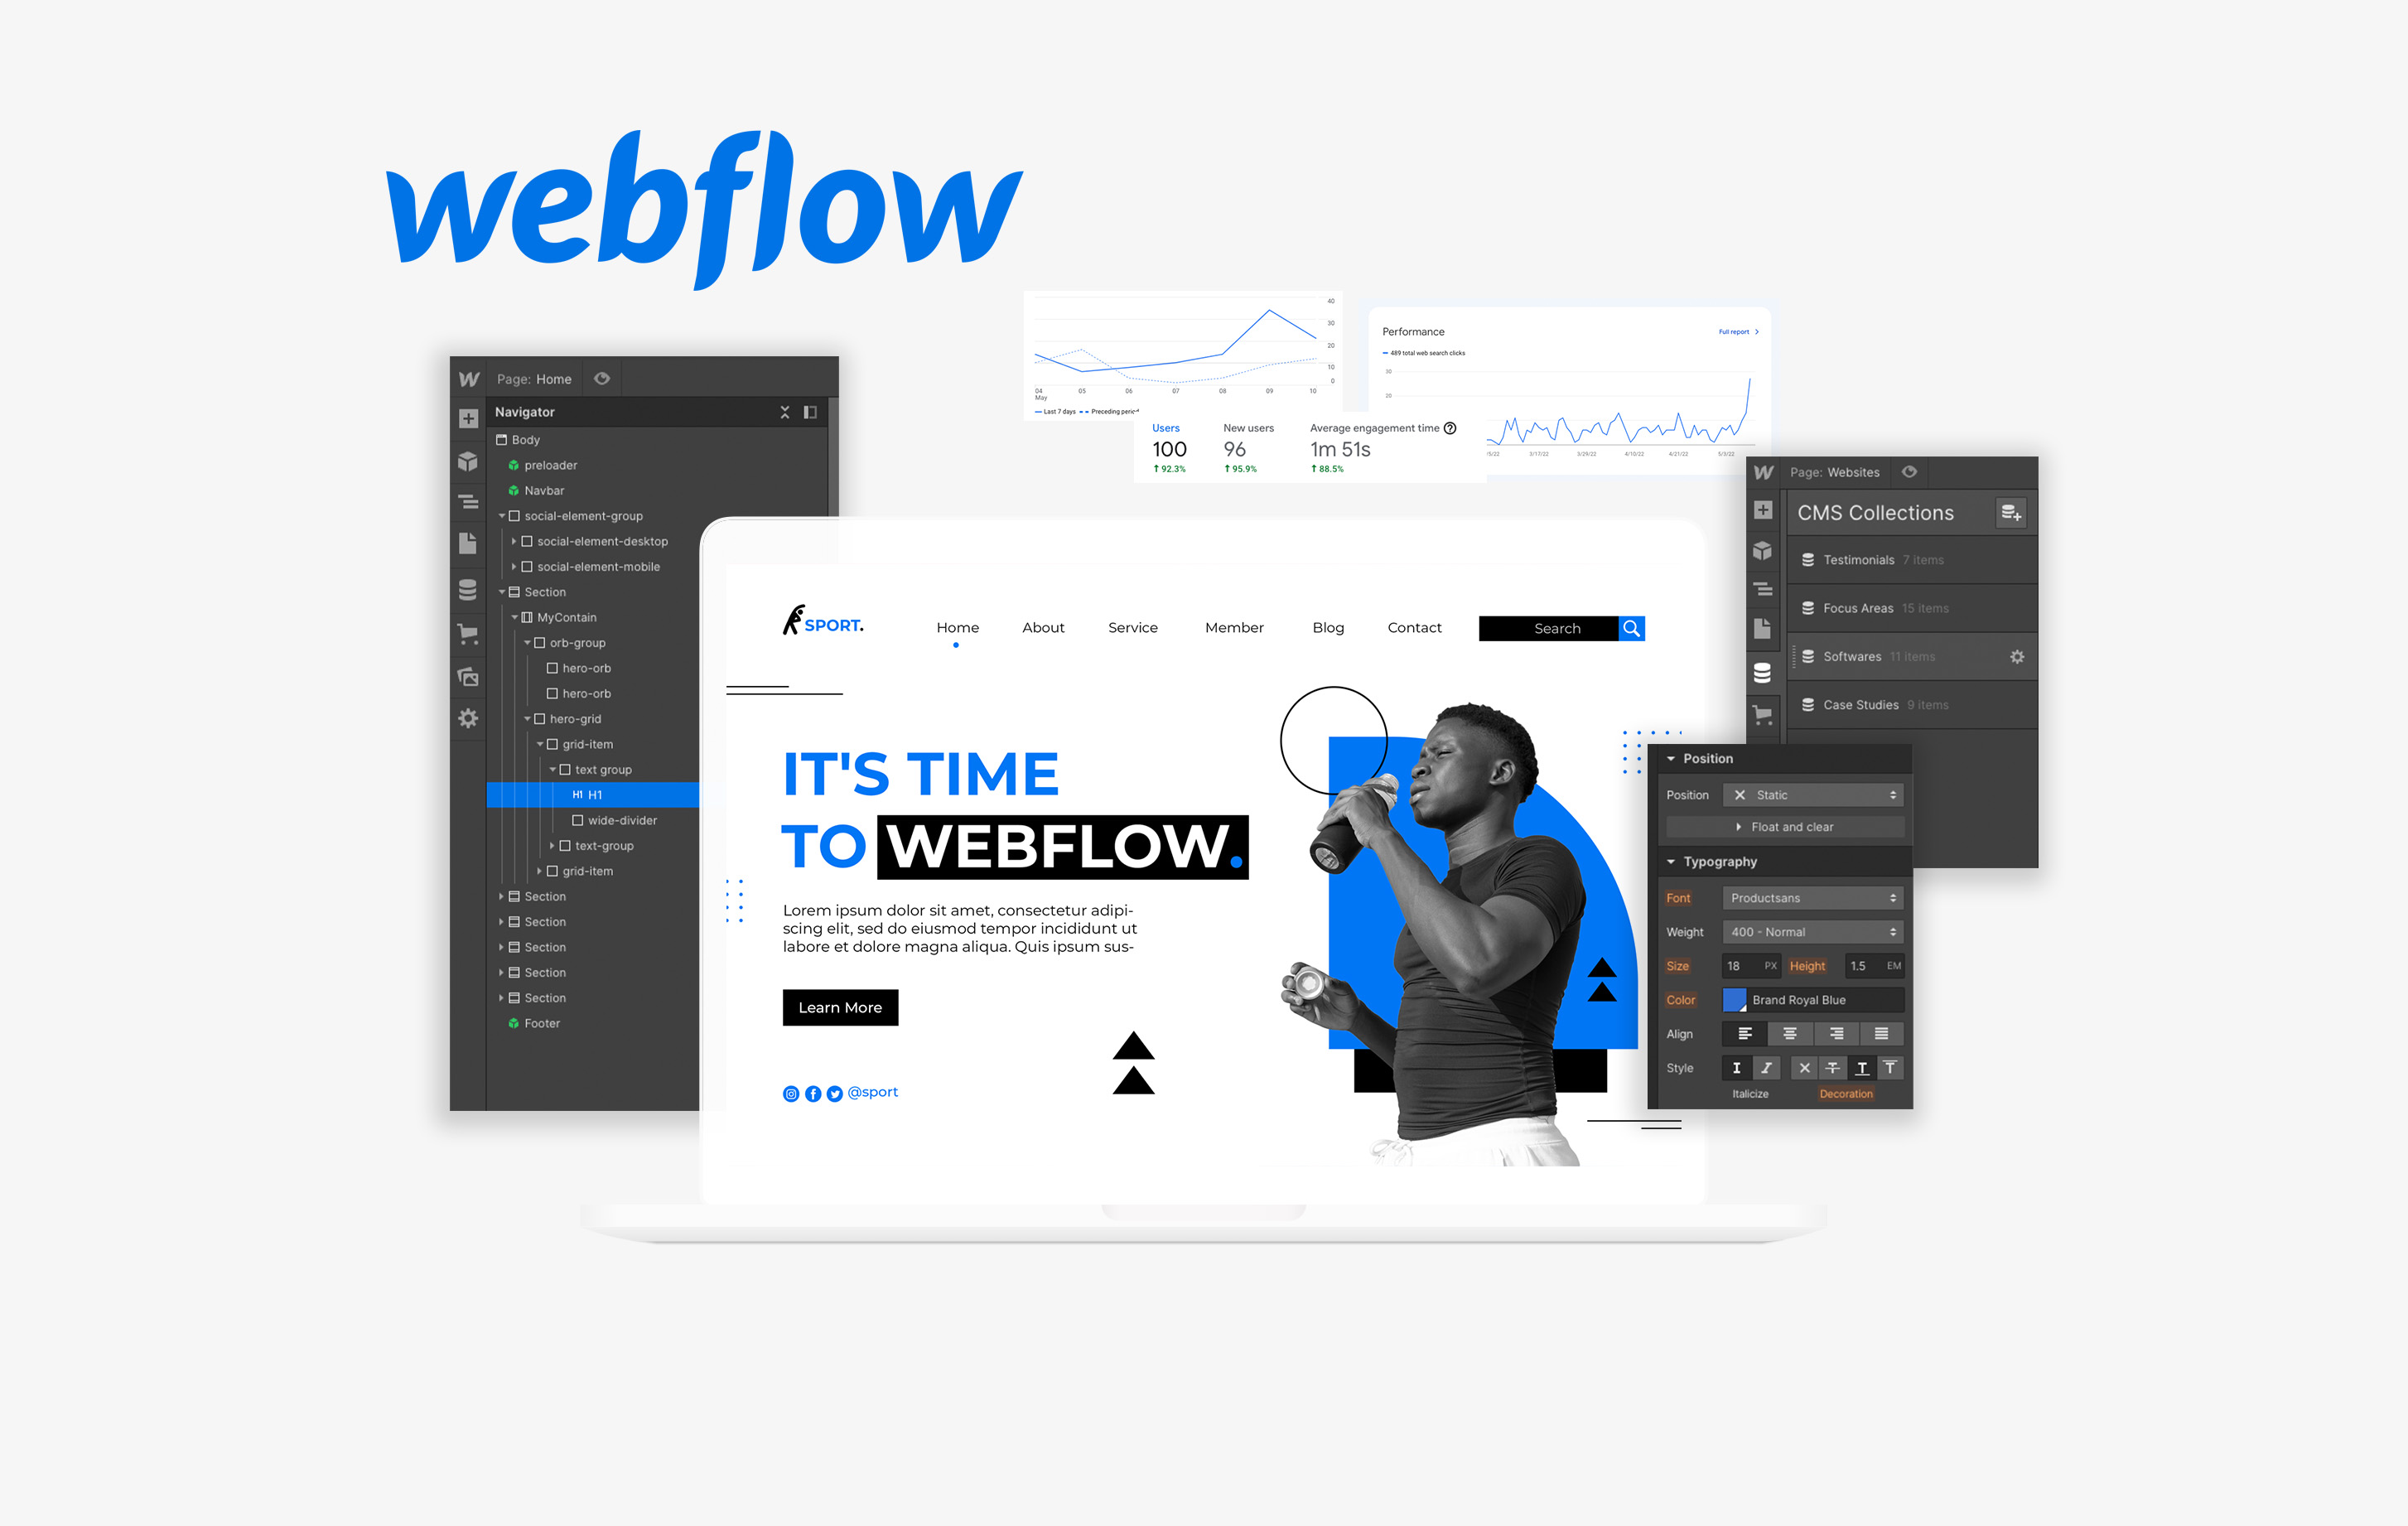
You’ll now enter the Webflow Designer, the main workspace where everything happens.
Step 3 — Understand the Designer Interface
Before building, learn the layout:
Left Panel (Structure & Content Tools)
- Add Panel (A icon) → Add sections, text, images, buttons, forms, etc.
- Navigator → Shows the page structure (like folders/layers)
- Pages → Create and manage pages
- CMS → For blogs, collections, and dynamic content
- Assets → Store images and files
Center Canvas
Your live visual preview — drag, edit, and design here.
Right Panel (Styling & Settings)
- Style panel → Fonts, colors, spacing, layout, animations
- Settings panel → Links, IDs, accessibility, SEO tags
- Interactions panel → Animations and effects
Think of Webflow like Figma + WordPress + hosting, all in one.
Step 4 — Build Your First Page Structure
A good website layout usually follows this order:
- Navbar
- Hero section
- Content sections
- Footer
Add a Section
- Click Add → Section
- Drag it onto the canvas
- Inside it, add a Container (keeps content aligned)
- Add elements like:
- Heading
- Paragraph
- Button
- Image
You’ve just built your first layout block.

Step 5 — Style Elements Visually
Click any element and use the Style panel.
Key beginner controls:
- Typography → Font, size, spacing
- Spacing → Margin (outside space) & Padding (inside space)
- Size → Width, height
- Backgrounds → Colors, gradients, images
- Borders & Shadows → Visual polish
Tip:
Set styles using Classes (top of Style panel).
Classes let you reuse styles across elements.
Example:
- Create class:
Primary Button - Style it once
- Reuse everywhere
This keeps your design consistent.
Step 6 — Build Navigation
- Add Navbar component
- Replace logo text/image
- Add links to pages (Home, About, Blog, Contact)
Webflow automatically makes the navbar responsive.
Step 7 — Create Multiple Pages
Open Pages panel → click + New Page
Create:
- Home
- About
- Blog
- Contact
You can design each page individually or duplicate layouts to save time.
Step 8 — Create a Blog with the CMS
This is where Webflow becomes powerful.
Create a Collection
- Go to CMS panel
- Click Create Collection
- Choose Blog Posts
Add fields like:
- Title
- Featured Image
- Summary
- Rich text content
- Author
- Publish date
Save it.
Add Blog Posts
Click New Item and fill in the content.
Display Blog on Page
- Open your Blog page
- Add Collection List
- Connect it to Blog Posts
Now your blog updates automatically when you add new posts.
Step 9 — Make the Site Responsive
Webflow designs are responsive by default, but you should adjust for:
- Tablet
- Mobile landscape
- Mobile portrait
Use the top icons to preview each size.
Typical mobile fixes:
- Reduce font sizes
- Stack columns vertically
- Add spacing
Step 10 — Add Interactions & Animations (Optional)
Open Interactions panel.
You can create:
- Fade-in scroll animations
- Hover effects on buttons
- Image transitions
- Page load animations
Start simple:
Add Fade in on scroll to sections for a modern feel.
Step 11 — Optimize SEO Basics
Click page settings and fill:
- Page title
- Meta description
- Open Graph image
- Clean URL slug
Also:
- Use proper heading hierarchy (H1 → H2 → H3)
- Add alt text to images
This helps your site appear in search results.
Step 12 — Connect a Domain
When ready to publish:
- Go to Project Settings → Hosting
- Add your domain (e.g. yoursite.com)
- Follow DNS instructions from your domain provider
- Wait for verification
You can also publish to a free .webflow.io domain first.
Step 13 — Publish Your Website
Click Publish (top right)
Select:
- Webflow domain
- Your custom domain (if connected)
Click Publish Selected Domains
Your website is now live.
What You’ve Learned
By finishing this guide, you now know how to:
- Create a Webflow project
- Design pages visually
- Build layouts with sections and containers
- Style elements with reusable classes
- Create a blog with the CMS
- Optimize for mobile
- Add animations
- Publish your site
That’s the complete beginner workflow used by many professional designers.
Final Beginner Tips
- Start simple — clean layout beats fancy design
- Use templates for inspiration
- Reuse classes to stay consistent
- Preview mobile often
- Publish early, improve later
Your first site doesn’t need to be perfect — it just needs to exist.


More
more
like this
like this
On this blog, I write about what I love: AI, web design, graphic design, SEO, tech, and cinema, with a personal twist.