The Complete Guide to Cinematic Lighting for Independent Filmmakers
Lighting is the single most important element in filmmaking. The image, the mood, and the visual impact of a film are, to a great extent, determined by the skill and sensitivity of the director of photography in using lighting. It is not about how much gear you have. It is about how you use it.
This guide is built entirely on verified information from authoritative sources: the American Cinematographer Manual, Blain Brown's Motion Picture and Video Lighting, David Landau's Lighting for Cinematography, and numerous practical guides from industry professionals. Everything here is factual, current, and tested on real productions.
Part One: Understanding Light
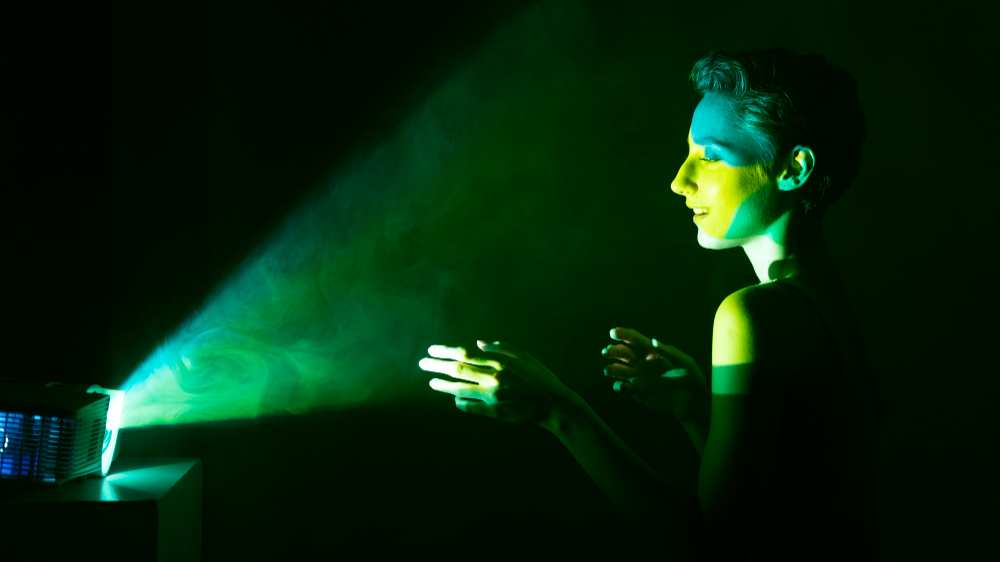
Before you turn on a single lamp, you need to understand what light is and what it does. The American Society of Cinematographers teaches that the primary characteristics of light a cinematographer must master are intensity, color, and quality.
The Three Characteristics of Light
Intensity is the brightness of the light. This is measured in footcandles or lux, and it follows the Inverse Square Law. Every time you double the distance between the light and the subject, the amount of light reaching the subject reduces by three quarters. This is physics that every cinematographer, gaffer, and electrician must be familiar with.
Color refers to the color temperature of the light, measured in Kelvin. Daylight is approximately 5600 Kelvin. Tungsten light is approximately 3200 Kelvin. Mixed color temperatures can create depth and mood, but you must control your camera white balance to achieve the effect you want.
Quality refers to whether the light is hard or soft. Hard light comes from a small source relative to the subject. It creates sharp shadows and high contrast. Soft light comes from a large source relative to the subject. It creates gentle shadows and low contrast. Alister Chapman explains that understanding the difference between hard light and soft light is fundamental to video and film lighting.
The Purpose of Lighting
Every light you place on set serves one or more of these purposes. The first thing to do when lighting a set is to cast a shadow. The second thing is to create separation.
Shadows create depth and dimension. Without shadows, an image looks flat and amateurish. Cinematic lighting is not always about a perfectly lit face. Shadows are not the enemy. They help create depth, guide the viewer's eye, and add mood.
Separation means distinguishing the subject from the background. This is achieved through backlighting, rim lighting, or simply by making the background darker or lighter than the subject.
Part Two: The Essential Equipment
You do not need to spend a fortune to get professional results. But you do need to understand what each type of equipment does and when to use it.
Types of Lights
LED Lights are the modern workhorse. They are energy efficient, produce less heat, and offer adjustable color temperature. Modern LED panels can output up to 56,000 lumens while using far less power than traditional lighting. LED panels excel with adjustable color temperature from 2700K to 6500K, flicker-free operation for high-speed filming, battery-powered options for location shoots, built-in diffusion for soft even lighting, and DMX control capabilities for precise adjustments. Panel positioning at a 45-degree angle above the subject creates the most flattering light. Direct panel use is not recommended. Modifying them with softboxes or bouncing the light creates a more pleasing effect.
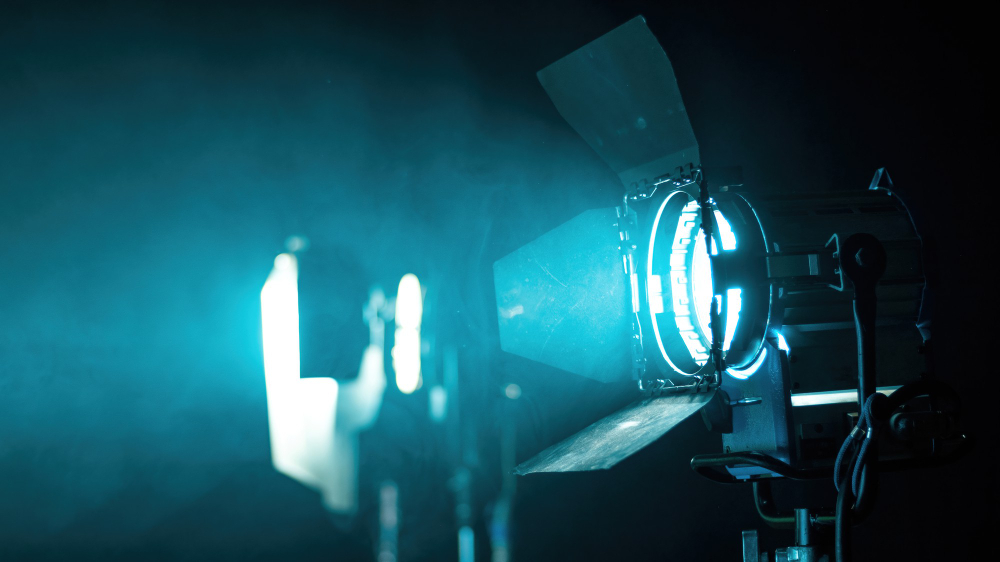
Fresnel Lights are focusable spotlights named for the lens that allows beam control. They come in tungsten, LED, and HMI varieties. Fresnels can produce both hard and soft light depending on how you use them. They are commonly used in theater and film for dramatic lighting effects.
HMI Lights are the heavy artillery. HMI stands for Hydrargyrum Medium-arc Iodide. It is a gas-discharge lamp that requires a bulky ballast. Watt for watt, an HMI is three to four times brighter than a tungsten light. Its color temperature sits around 5600 Kelvin, making it a perfect match for natural daylight. HMIs are ideal for simulating daylight, exterior scenes, or when a cooler color temperature is needed.
Practical Lights are any light source visible in the scene that is not dedicated lighting gear. Lamps, candles, lit screens, street lights, and car lights are all practicals. They are extremely affordable and able to create a cinematic, three-dimensional effect. Practicals are particularly suited to illuminate darker scenes. A desk lamp can be adjusted to serve as a key light through proper placement and balancing your camera settings.
Light Modifiers
Modifiers shape the light after it leaves the fixture. They are often more important than the light itself.
Diffusion softens light. Shower curtains, white bedsheets, and professional diffusion fabrics all do the same thing: they turn a small, harsh light into a large, soft source. With just some white curtains and bedsheets, you can calm harsh streams of sunlight into that wonderful soft cinematic glow.
Bounce redirects light. Foam boards are great for bounce to fill in shadows. Tin foil wrapped on cardboard creates a harsh accent bounce light.
Flags block light. Black poster board provides negative fill or flags light spill. Locations where you do not want light should be hidden with black trash bags, negative fill, or even dark blankets.
Softboxes diffuse light for interviews and close-ups. A smaller softbox works well for headshots and tight talking-head framing. A medium softbox is great for half-body shots and seated interviews.
Essential Tools for Every Kit
Every filmmaker needs a basic set of tools regardless of budget. A C-stand with a grip head and arm is the most versatile piece of grip equipment. Clothespins (often called C-47s) are used for attaching diffusion and gels. Gaffer tape is essential for securing cables and equipment. A light meter helps measure intensity accurately. And always carry spare bulbs and batteries.
Part Three: The Lighting Process
The process of lighting a scene follows a logical sequence. Professional cinematographers approach each scene the same way, regardless of budget.
Step One: Start with Motivation
Every light should have a reason for existing in the scene. Where is the light coming from in the story? A window. A lamp. The sun. Moonlight. Firelight. This is called motivated lighting.
David Landau writes that lighting should support the emotional moment of the scene, contribute to the atmosphere of the story, and augment an artistic style. The light must serve the story, not just illuminate the set.
Step Two: Light the Background First
Experienced cinematographers light the background before the subject. This establishes the environment and creates the canvas upon which you will paint your subject.
When lighting the background, consider what is actually in the shot. You can take some instruments away from the background lighting by lighting only the parts that will appear in the frame.
Step Three: Establish the Key Light
The key light is your main light. It determines the overall look and mood of the scene. Placing the key light at a 45-degree angle above and to the side of the subject is the most common and flattering position.
The position of the key light dramatically affects the emotional tone. Front lighting makes the subject look flat and ordinary. Side lighting creates drama and mystery. Top lighting can suggest authority or menace. Bottom lighting creates a frightening or unnatural look.
Step Four: Add Fill Light
Fill light softens the shadows created by the key light. It is placed on the opposite side of the camera from the key light. The amount of fill determines the contrast ratio. A high contrast ratio (little fill) creates a dramatic film noir look. A low contrast ratio (lots of fill) creates a flat, commercial look.
Step Five: Add Backlight or Rim Light
Backlight separates the subject from the background. It is placed behind the subject, usually at a 45-degree angle upward. This creates a rim of light around the subject's head and shoulders, giving the image depth and three-dimensionality.
Step Six: Add Accents
Accent lights draw attention to specific elements in the frame. A background light might illuminate a painting on the wall. A kicker might add a glint to an actor's eye. These are the finishing touches that make an image feel polished and intentional.
Part Four: Lighting by Shot Size
Different shot sizes require different lighting approaches. What works for a wide shot will not work for a close-up.
Wide Shots
Wide shots establish the environment. The lighting must cover a large area and look natural from a distance. The background is the star. Light the space first, then adjust for the subjects who will enter it.
For wide shots, large soft sources are often used. Bouncing light off foam boards or using large diffusion frames creates an even, natural look. HMIs are valuable for wide shots because they provide immense output.
Medium Shots
Medium shots show the subject from the waist up. The lighting becomes more focused. A medium softbox is ideal for this framing.
In medium shots, the relationship between the subject and the environment is still visible. The background should be slightly darker or lighter than the subject to maintain separation. The key light should be placed to create modeling on the face without creating harsh shadows.
Close-Ups
Close-ups are where the magic happens. Every close-up should be lit separately and balanced individually. The subject's face fills most of the frame, so the lighting must be flawless.
In close-ups, the key light is often brought closer to the subject and softened. Diffusion becomes critical. A smaller softbox works well for headshots and tight talking-head framing.
Adding a hair light enhances edge definition, while ambient lighting softens shadows for a natural aesthetic. The eyes are the most important feature. Make sure there is a catchlight in the eyes to bring them to life.
Extreme Close-Ups
Extreme close-ups are typically shot with a stationary camera and subject, and usually only last a few seconds. Because it is so tight, extreme close-ups are usually shot on long lenses with a shallow depth of field.
Lighting for extreme close-ups requires even more precision. Small diffusion frames placed very close to the subject create a soft, flattering light. Every detail is visible, so shadows must be controlled carefully. The background is often completely out of focus, so background lighting is less critical.
Part Five: Lighting Interiors
Interior lighting gives you the most control. You are not at the mercy of the weather or the time of day. But control comes with responsibility.
Day Interiors
Day interiors simulate sunlight coming through windows. The goal is to make it look like the sun is shining into the room.
The most effective approach uses large HMIs pushed in from outside to add highlights inside the interior location, either on the walls or as backlights on subjects. HMIs can help match the intensity of the exterior daylight when the camera is pointed toward a window or open doorway.
For lower budgets, you can use LED panels with daylight color temperature (5600K) placed outside windows. Bounce light off large white boards to simulate the soft fill of skylight.
A practical technique described by one filmmaker involves building what is called a "sky box" outside the window. Using a 6x6 foot frame with bleached muslin to simulate the sky, you create a convincing daylight source.
Night Interiors
Night interiors are lit to simulate darkness while still allowing the camera to see. This is one of the most challenging lighting scenarios.
The key to night interiors is motivated light sources. A single lamp in the scene can serve as the key light. The background should be cooler (6500K) to create contrast with the warm lamp light.
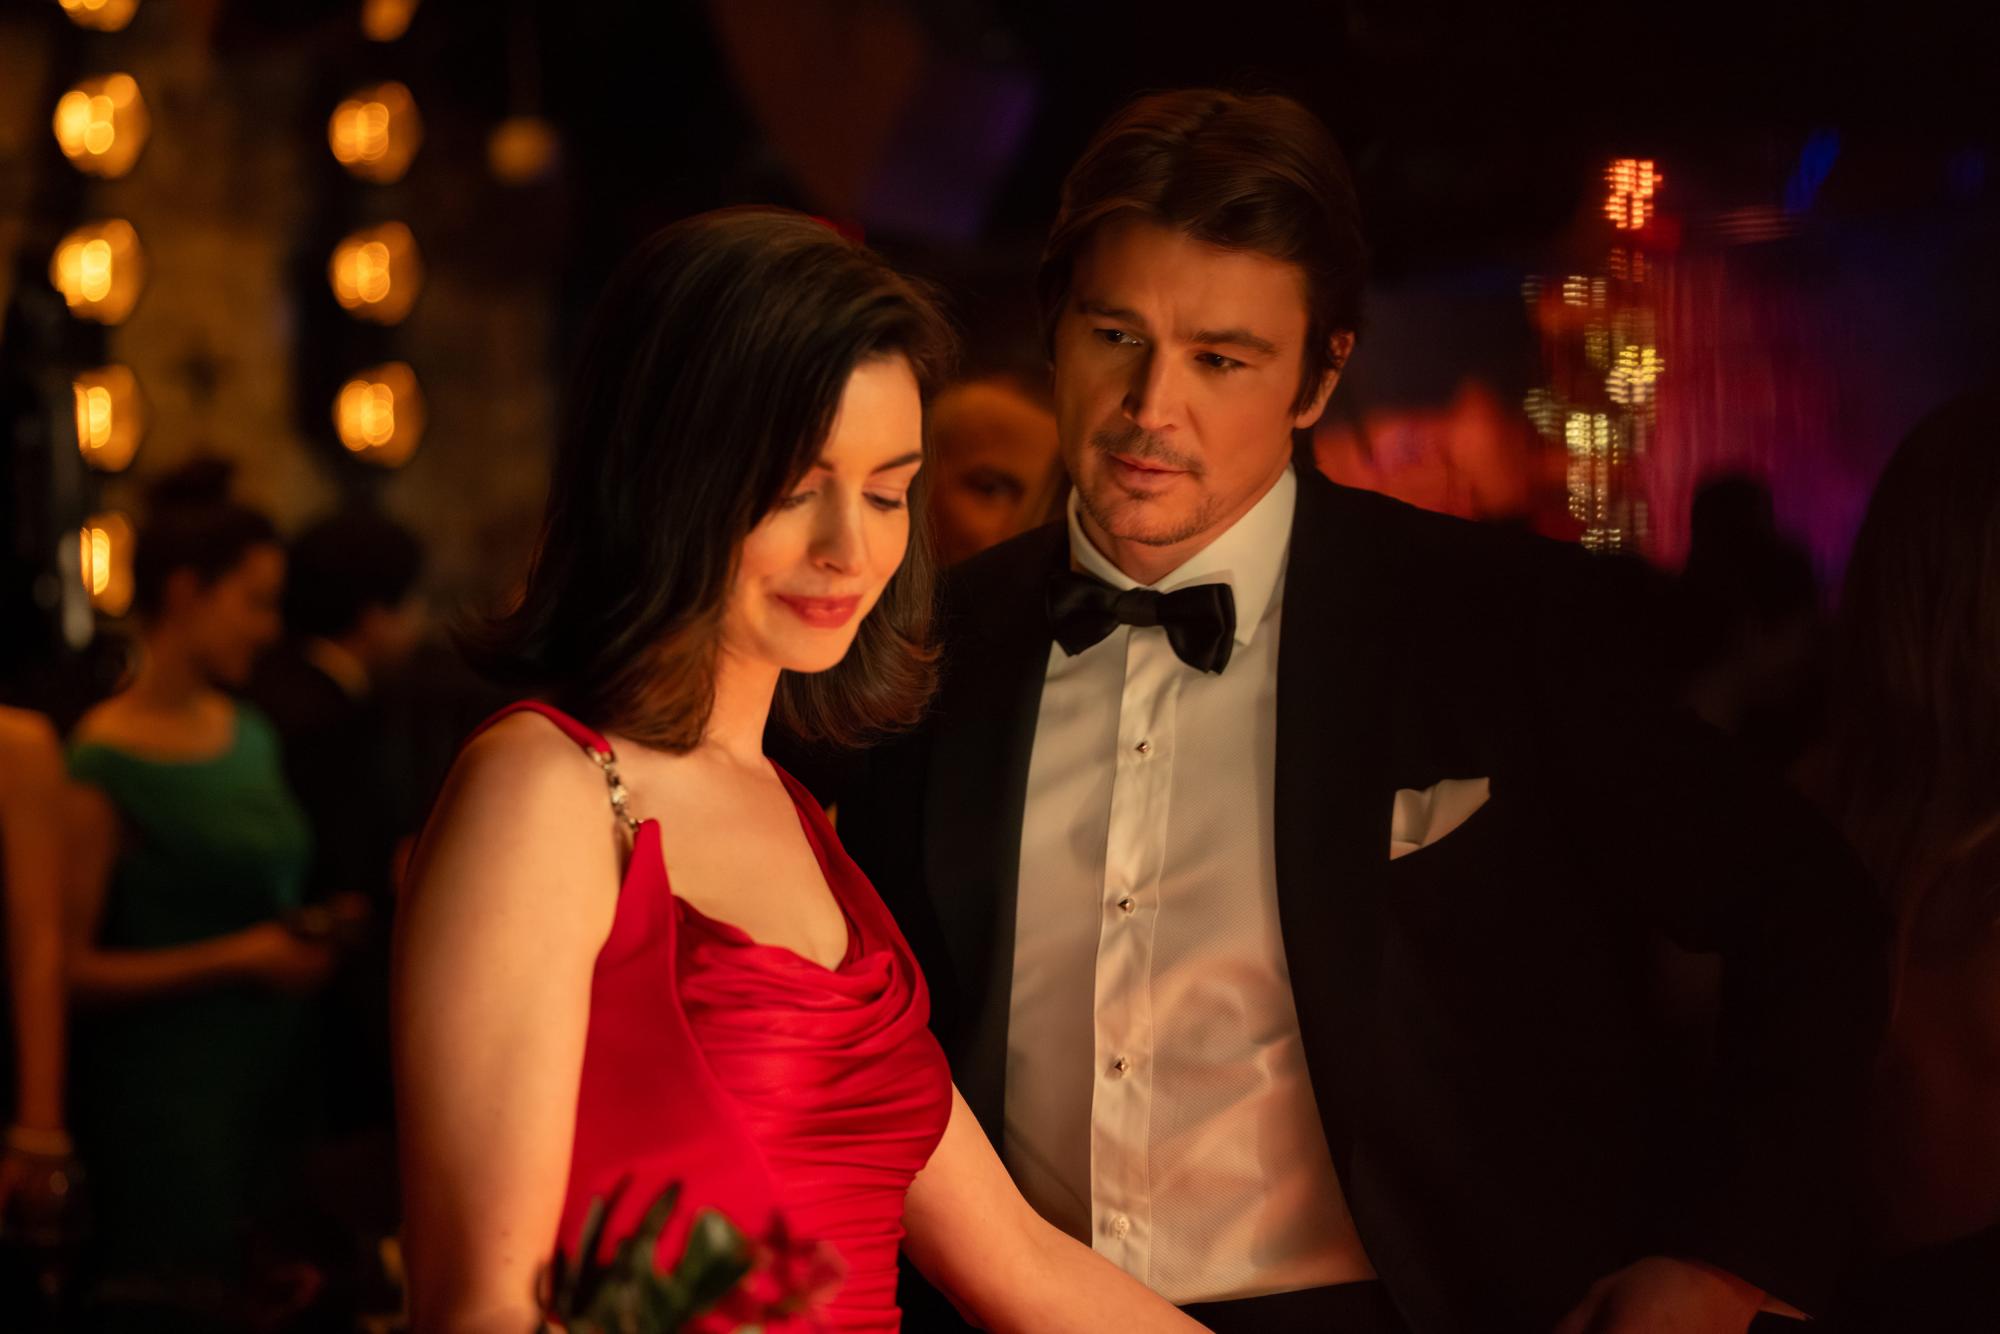
Creating a moody night-time atmosphere indoors can be achieved using practical sources, toplight, and simulated moonlight and firelight.
For a film noir look, use a single key light with minimal fill. Place the key light at a steep angle to create deep shadows across the face.
Part Six: Lighting Exteriors
Exteriors are unpredictable. You cannot control the sun. But you can work with it.
Daylight Exteriors
The best way to take advantage of good light is to shoot outdoors and rely on the sun. Not only does it cost nothing, but it also provides the best light a cinematographer could ask for. Artificial light sources try to imitate sunlight for a reason. Sunlight is the most flattering, natural-looking, cinematic illumination available.
However, shooting in natural light comes with challenges. You must work in given conditions and adapt your production around the sunlight's direction, intensity, and color temperature. Checking the weather forecast is a must.
To control sunlight, use flags to block unwanted light and bounce boards to fill shadows. Black flags can block direct sunlight from hitting the subject, creating a controlled lighting environment even in the middle of the day.
The Golden Hour
The golden hour, the hour after sunrise and before sunset, is the dream for every filmmaker. The light is so soft and flattering. If you are shooting outside, try to schedule your scenes around this time.
The challenge is that golden hour only lasts about 30 minutes. You must work quickly and efficiently. Shot list in hand. Camera ready. Actors rehearsed. No time for mistakes.
Night Exteriors
Night exteriors require the most light for the least visibility. It is a paradox of filmmaking.
Street lights, car headlights, and neon signs can serve as practical light sources. RGB LED strips can be used to create neon aesthetics at minimal cost.
For moonlight scenes, use HMIs with a blue gel to simulate moonlight. The light should come from above, creating long shadows.
Part Seven: Lighting Styles
Different genres demand different lighting approaches. Understanding these styles helps you make deliberate choices.
High Key Lighting
High key lighting is bright and even. There are few shadows. This is common in comedies, musicals, and bright commercial work. The contrast ratio is low, typically 2:1 or 3:1.
Low Key Lighting
Low key lighting is dramatic and shadowy. There are deep shadows and strong contrast. This is the style of film noir, horror, and thrillers. The contrast ratio is high, often 8:1 or more.
Naturalistic Lighting
Naturalistic lighting looks like it could exist in the real world. It is motivated by practical sources and often uses available light. This style is common in dramas and independent films.
Stylized Lighting
Stylized lighting is deliberately artificial. It creates a world that looks like a movie, not reality. The use of strong color contrasts and dramatic shadows are hallmarks of this style.
Part Eight: Budget-Friendly Lighting
You can achieve professional results with minimal equipment. Here are proven techniques from filmmakers working with limited resources.
The Three Light Approach
Instead of designing the standard three-point lighting with three light sources, consider using sunlight, a bounce board, and a practical light. This costs almost nothing and can look more natural than an elaborate setup.
DIY Diffusion and Bounce
You do not need professional diffusion frames. A trip to the hardware store is all you need. Shower curtains provide soft diffusion for windows or lights. Foam boards are great for bounce to fill in shadows. Tin foil wrapped on cardboard creates harsh accent bounce light. Black poster board provides negative fill or flagging light spill. PVC pipe frames can be used to build your own light modifiers.
Practical Lights as Key Lights
A desk lamp can be your key light. A table lamp can provide fill. A television screen can illuminate a scene. Practical lights are already part of the décor and cost nothing extra. Ensure they complement ambient light in terms of color temperature and brightness and carefully position them in the scene.
LED Work Lights
LED work lights can be a godsend on low-budget shoots. They are bright, portable, and often come with their own stands or hooks. Clamp lamps with LED bulbs are another staple for no-budget shoots. You can modify the quality of the light by attaching diffusion materials, parchment paper, shower curtains, or even paper towels.
The Single Light Approach
The cinematic triangle is a lighting technique that involves a single light source, which can be sunlight or an artificial light source. In this lighting design, the camera, subject, and light source form a triangle, creating a shadow side look.
Renting vs. Buying
For most independent filmmakers, renting is more cost-effective than buying. A two-light location kit can be rented for comfortably under 300 dollars for the week. This gives you access to professional equipment without the upfront investment.
Part Nine: Common Mistakes and How to Avoid Them
Learning from others' mistakes is cheaper than making them yourself.
Mistake One: Forgetting to Monitor with Headphones
This applies to lighting as much as sound. You cannot judge your lighting through the camera's viewfinder alone. Use a proper monitor. Check your waveform. Look at the image on a calibrated screen.
Mistake Two: Overlighting
More light is not always better. Overlighting creates flat images with no depth. Use only the light you need and shape it carefully.
Mistake Three: Ignoring the Background
The background is part of the frame. Light it deliberately. A plain white wall is boring. A wall with texture and shadow is interesting.
Mistake Four: Not Using Flags
Flags are essential for controlling light spill. Without them, light goes everywhere. With them, you control exactly where the light falls.
Mistake Five: Inconsistent Color Temperature
Mixed color temperatures without intention look amateurish. If you use a tungsten lamp and daylight LED in the same scene, the colors will clash. Either balance them with gels or make the contrast deliberate.
Mistake Six: No Motivation
Every light should have a reason to exist. If it does not, the audience will sense something is wrong.
Mistake Seven: Lighting for the Camera Instead of the Story
The camera is a tool. The story is the goal. Light to tell the story, not to show off your equipment.
Part Ten: Recommended Reading and Resources
The information in this guide comes from authoritative sources that every filmmaker should study.
The American Cinematographer Manual is the essential technical reference, known as the "Filmmaker's Bible." The eleventh edition covers evaluating digital cameras, measuring light, the color science behind modern lighting instruments, virtual production, and much more.
Motion Picture and Video Lighting by Blain Brown explores the technical, aesthetic, and practical aspects of lighting for film and video. The fourth edition is fully revised and updated. Brown has worked as a Director of Photography on feature films, commercials, music videos, and documentaries for over thirty years.
Lighting for Cinematography by David Landau is the indispensable guide for film and video lighting. Written by a veteran gaffer and cinematographer, the book helps the reader create lighting that supports the emotional moment of the scene, contributes to the atmosphere of the story, and augments an artistic style.
Cinematography: Theory and Practice by Blain Brown covers both the artistry and craftsmanship of cinematography and visual storytelling.
The Filmmaker's Eye by Gustavo Mercado provides the necessary skills and technical know-how to create polished and narratively eloquent images.
Illuminating Cinema: The Art of Cinematic Lighting and Visual Style explores the art of film lighting through the timeless techniques of the Old Masters, guiding cinematographers to develop a visual style inspired by the great painters.
Cinematography and Lighting for Television by Tim Palmer provides practical advice for working in the industry and tips for low-budget and student settings.
What did you think?
A thought, a different perspective, a little appreciation. You’re welcome here.
.png)