Google Search Console: The Complete Step-by-Step Guide for Beginners & Advanced Users
Google Search Console is the most powerful free tool for understanding how your website performs in Google Search. If you want more traffic, better rankings, and fewer technical problems, you need to use it.
Part 1: Getting Started for Beginners
Step 1: Add and Verify Your Website
Before Search Console can show you any data, you must prove you own the site.
What you do:
Go to search.google.com/search console. Click "Start Now" and sign in with your Google account. Click "Add Property."
Two property types:
A Domain property covers all subdomains like www, blog, shop and both http and https. This is best for most people.
A URL prefix property covers one specific version like https://www.yoursite.com only. This is for advanced users.
Choose Domain property if you can. It gives you complete data.
Verification methods you can pick from:
DNS record is usually the easiest. Go to your domain provider like GoDaddy or Namecheap and add a TXT record that Google gives you.
HTML file upload means you download a file from Google and upload it to your website's root folder.
HTML tag means you copy a meta tag and paste it into your website's homepage code.
Google Analytics is the easiest if you already have Analytics installed.
Google Tag Manager works if you use GTM.
Tip: After adding the verification code, wait 2 to 5 minutes, then click "Verify." DNS changes can take up to 48 hours but usually work within minutes.
Step 2: Submit Your Sitemap
A sitemap is a file that tells Google about all the pages on your site. Submitting it helps Google find your content faster.
What you do:
In Search Console, click "Sitemaps" in the left menu under "Indexing." Type "sitemap.xml" in the box. Click "Submit."
Most common sitemap locations by platform:
For WordPress with Yoast or RankMath, your sitemap is at yoursite.com/sitemap underscore index.xml
For Shopify, your sitemap is at yoursite.com/sitemap.xml
For Webflow, your sitemap is at yoursite.com/sitemap.xml
For custom sites, your sitemap is at yoursite.com/sitemap.xml
After submitting: Check the "Submitted sitemaps" section. Status should say "Success." If it says "Error," click it to see the problem.
Step 3: Understand the Main Dashboard
When you log in, here is what each section does for you.
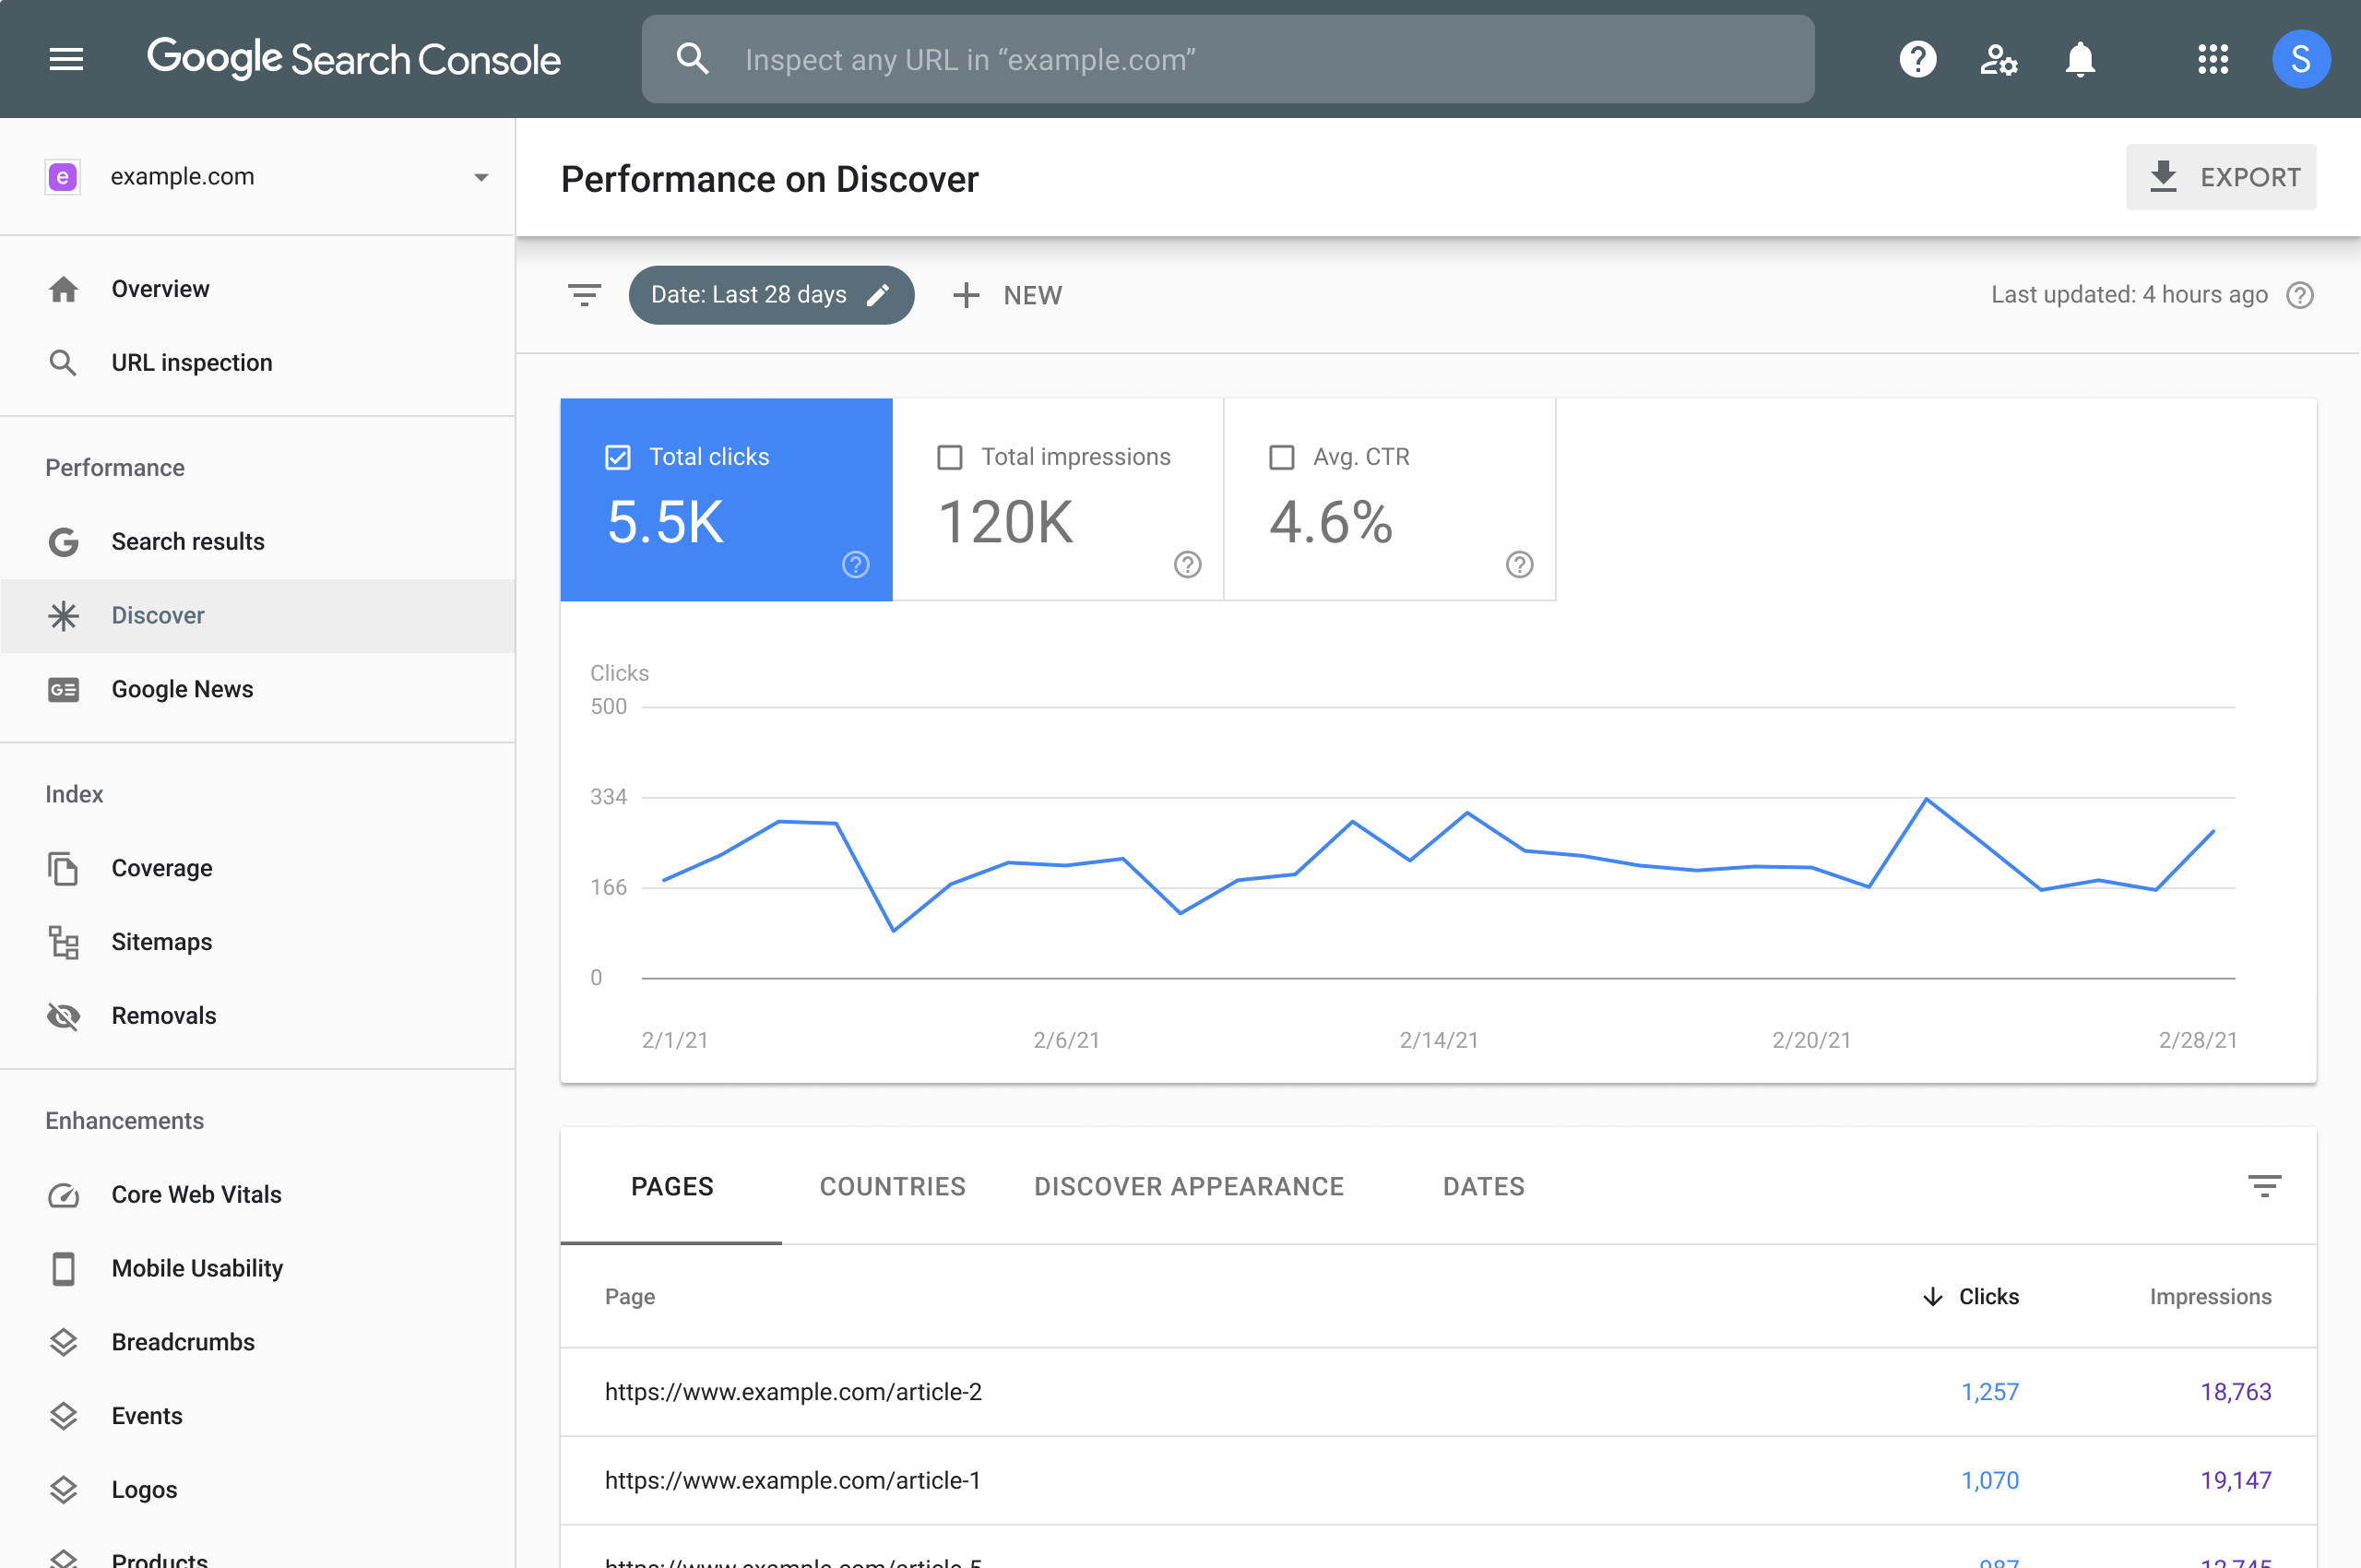
The Performance report is the most important. It shows clicks, impressions, click through rate, and average position for your site.
The URL inspection tool lets you check if a specific page is indexed and if Google can see it properly.
The Page indexing section, formerly called Coverage, shows which pages Google indexed and which have errors.
The Core Web Vitals report shows how fast and stable your pages load for real users.
The Mobile usability report flags pages that are hard to use on phones.
The Sitemaps section lets you manage and monitor your submitted sitemaps.
The Removals tool lets you temporarily hide pages from Google Search.
Part 2: Daily and Weekly Actions for Everyone
These are the things you should check regularly to keep your site healthy.
Action 1: Check Your Performance Report Weekly
The Performance report tells you exactly how people find your site.
How to access it: Click "Performance" then "Search Results."
The four metrics you need to understand:
Clicks means the number of times someone clicked your site from Google. This is actual traffic.
Impressions means the number of times your site appeared in search results. This shows your visibility.
Average CTR means clicks divided by impressions. A low CTR means people see you but do not click.
Average Position means where you rank, with 1 being the top. A lower number is better.
What to look for:
If you have high impressions but low clicks, your title or description is not compelling enough.
If clicks are dropping, you lost rankings or a competitor overtook you.
If impressions are dropping, Google stopped showing your pages, which could mean a technical issue.
Action 2: Find and Fix Pages That Get Impressions But No Clicks
This is the fastest way to get more traffic without creating new content.
Step by step:
Go to Performance then Search Results. Look at the table under the chart. Click the "Pages" tab. Sort by "Impressions" with the highest first. Look for pages with high impressions but a low click through rate under 2 or 3 percent.
Example: A page with 10,000 impressions but only 50 clicks has a 0.5 percent click through rate. That is a problem. People see your page in results but do not click.
How to fix it:
Rewrite your title tag, which is the blue link in search results. Rewrite your meta description, which is the text under the blue link. Make sure your title matches what people actually want.
Good title examples:
How to Pass Your Driving Test First Time with 10 Tips That Work
Best Italian Restaurant Paris 2026 for Booking Your Table
Bad title examples:
Home
About Us
Services Page
Action 3: Find Hidden Keyword Opportunities
Your Performance report shows you exactly what people typed to find your site. Some of these keywords are gold mines you never intentionally targeted.
Step by step:
Go to Performance then Search Results. Click the "Queries" tab. Look for queries that have impressions but are not your main keywords. Find long tail questions like "how to" something or "best product for a specific use."
What to do with these keywords:
Create a new page targeting that exact question. Or update an existing page to include that keyword naturally. Add a frequently asked questions section answering that question.
Example: If you run a driving school and see impressions for "driving test nervous tips" but have no page about that, write one immediately. That is free market research telling you what people want.
Action 4: Check Your Indexing Coverage Weekly
If Google does not index your pages, nobody will ever find them.
Step by step:
Click "Page Indexing" in the left menu. Look at the chart showing different statuses.
What the statuses mean:
A green status that says "Valid" means Google indexed these pages. That is good.
A red status that says "Error" means Google tried but could not index. You need to fix these immediately.
A yellow status that says "Valid with warnings" means the page is indexed but has problems. Check these soon.
A gray status that says "Excluded" means Google chose not to index. Some exclusions are fine, like duplicate pages or thank you pages.
Common errors and how to fix them:
If you see "Submitted URL marked noindex," your page has a tag telling Google to ignore it. Remove the noindex tag from that page.
If you see "Page with redirect," the URL redirects somewhere else. Update your links to go directly to the destination.
If you see "Soft 404," your page shows an error message but returns a success code. Fix the page or make it return a real 404.
If you see "Crawled currently not indexed," Google saw it but decided not to index. Improve your content quality and add more text.
To fix an error: Click the error type, see which URLs are affected, fix the problem, then click "Validate Fix" to ask Google to recheck.
Action 5: Use the URL Inspection Tool
Before publishing a new page, use this tool to make sure Google can see it properly.
Step by step:
Paste a URL into the search bar at the top of Search Console. Press Enter. Look at the results.
What to check:
Look for "URL is on Google." If it says no, click "Request Indexing."
Look for "Page indexing." It should say "Success" or "Valid."
Look for "Mobile usability." It should say "No issues."
Look for "Coverage." It should not show any errors.
Pro tip: After publishing a new blog post or page, paste the URL here and click "Request Indexing." This tells Google to crawl it now instead of waiting a few days.
Part 3: Advanced Tips for Power Users
Once you master the basics, these advanced strategies will take you further.
Advanced Tip 1: Use the Compare Feature to Find What Changed
If your traffic drops or jumps, you need to know why.
Step by step:
Go to Performance then Search Results. Click the date range filter. Select "Compare." Compare the last 28 days to the previous 28 days, or compare year over year.
What to look for:
If clicks are down but impressions are the same, your titles or descriptions got worse or competitors look better than you.
If impressions are down, you lost rankings. Check if Google released an algorithm update.
If clicks are up but position is the same, your click through rate improved, which means your title or description is working.
If mobile clicks are down but desktop clicks are the same, you have a mobile usability issue on your site.
Sort by "Difference" to see which pages or queries changed the most.
Advanced Tip 2: Filter by Device to Find Mobile Opportunities
Google uses mobile first indexing. That means Google mostly looks at your mobile version to decide rankings.
Step by step:
Go to Performance then Search Results. Click the plus sign for a new filter. Choose "Device" then "Mobile." Look at your top mobile queries.
What to do with this data:
Are mobile users searching for different things than desktop users? Do you have pages that rank well on desktop but poorly on mobile? Check those pages with the Mobile Usability report.
Advanced Tip 3: Add Annotations to Track Your Changes
In 2025, Google added custom annotations to Performance charts. Use this to remember what you changed and when.
Step by step:
Go to Performance then Search Results. Right click on any date in the chart. Type a short note of 120 characters or less. Click "Add."
What to annotate:
Write notes like "Published new blog post about X" or "Updated homepage title tag" or "Fixed 404 errors on product pages" or "Google March 2025 Core Update started."
Why this helps: Months later, when you see a traffic spike or drop, your annotations tell you exactly what caused it.
Advanced Tip 4: Separate Branded vs Non Branded Queries
Your brand name queries usually have a high click through rate. Non branded queries show how well you attract new audiences.
Step by step:
Go to Performance then Search Results. Click the plus sign for a new filter. Choose "Query" then "Custom." Type your brand name or your domain without the dot com. For the opposite view, check "Query does not contain" your brand name.
What this tells you:
If your branded queries are growing but non branded queries are flat, you are not attracting new audiences.
If your branded queries are flat but non branded queries are dropping, you have an algorithm change or a technical issue.
If both branded and non branded are growing, that is perfect. Keep doing what you are doing.
Advanced Tip 5: Use the Core Web Vitals Report
Core Web Vitals measure real user experience. Google uses these as ranking factors.
The three metrics:
LCP stands for Largest Contentful Paint. It measures how fast your main content loads. A good score is under 2.5 seconds.
INP stands for Interaction to Next Paint. It measures how quickly your site responds when someone clicks or taps. A good score is under 200 milliseconds.
CLS stands for Cumulative Layout Shift. It measures how much your page jumps around while loading. A good score is under 0.1.
Where to find the report:
Click "Core Web Vitals" in the left menu. You will see a list of URLs grouped by status.
A green status that says "Good" means your page passes Core Web Vitals. That is what you want.
A yellow status that says "Needs Improvement" means your page is close but not quite there.
A red status that says "Poor" means your page fails Core Web Vitals and needs work.
How to fix poor Core Web Vitals:
For slow LCP, optimize your largest image or video. Compress it. Use a next gen format like WebP. Host videos on YouTube or Vimeo instead of directly on your site.
For poor INP, reduce JavaScript. Remove unused scripts. Split long tasks into smaller pieces.
For high CLS, add width and height attributes to all images and videos. Reserve space for ads or embeds before they load.
Tip: The Core Web Vitals report shows data from real Chrome users, not lab tests. That means these are real people experiencing your site.
Advanced Tip 6: Find and Fix Broken Internal Links
Internal links are links from one page on your site to another. Broken internal links waste your link authority and frustrate users.
Step by step:
Search Console does not show broken internal links directly. But you can find them by looking at crawl data.
Go to "Page Indexing" and look for URLs with the error "Not Found" which is a 404 error. Click on it. See which pages link to those broken URLs.
What to do:
For each broken URL, either restore the missing page, or redirect the broken URL to a relevant working page using a 301 redirect, or update the links on your site to point to the correct URL instead of the broken one.
Advanced Tip 7: Use the Removals Tool Correctly
The Removals tool temporarily hides a page from Google Search. It does not delete the page from your site.
When to use it:
You accidentally published a page with wrong information. You have a page that should not be public yet. You have outdated content that you want hidden immediately.
How long it lasts: A removal request lasts about 6 months. After that, Google can index the page again if it still exists.
What to do instead for permanent removal:
To permanently remove a page from Google, add a noindex tag to the page. Or delete the page from your server and return a 404 or 410 status. Or password protect the page.
Do not use removals for: Pages you just want to update, pages you plan to bring back soon, or temporary content that will expire.
Part 4: What to Avoid in Google Search Console
These are common mistakes that waste your time or hurt your rankings.
Avoid Mistake 1: Requesting Indexing Too Often
You can request indexing for a URL using the URL inspection tool. But you have a limit of about 10 to 15 requests per day for most sites.
What not to do: Do not request indexing for every tiny change like fixing a typo. Do not request indexing for the same URL every day. Do not request indexing for pages that are not ready.
What to do instead: Request indexing only for new pages, major updates, or pages you urgently need indexed. Let Google find your other pages naturally through your sitemap.
Avoid Mistake 2: Ignoring the Difference Between "Excluded" and "Error"
Not every excluded page is a problem. Many exclusions are completely normal.
Normal exclusions you can ignore: Duplicate pages like print versions, thank you pages after form submissions, pages with noindex tags on purpose, pages blocked by your robots.txt file, alternate language versions of the same content.
Problematic exclusions you must fix: Pages you want indexed but are marked noindex by accident, pages blocked by robots.txt that should be accessible, pages Google cannot crawl because of server errors.
How to check: Look at the "Excluded" section in Page Indexing. Click "View data about excluded pages." Read the reason. If the reason is not one of the normal ones above, investigate.
Avoid Mistake 3: Obsessing Over Average Position
Average position is a useful metric but it can mislead you.
Why it is misleading: If one query ranks at position 1 and another query ranks at position 99, your average position is 50. That does not help you. Position data is not linear. Moving from position 2 to position 1 is huge. Moving from position 50 to position 49 means nothing.
What to do instead: Look at position ranges, not exact averages. Use the "Compare" feature to see trends over time. Focus on queries where your position is between 1 and 10, or between 11 and 20. Those are actionable.
Avoid Mistake 4: Forgetting to Set Up Ownership for All Domain Versions
If you only verify https://www.yoursite.com, you will not see data for http://yoursite.com or https://yoursite.com without the www.
What to do: If you use the Domain property, you are covered. It includes all versions automatically. If you use URL prefix properties, you need to verify each version separately: the http version, the https version, the www version, and the non www version.
Why this matters: Different users reach different versions of your site. You want complete data.
Avoid Mistake 5: Making Changes Based on Too Little Data
Small data sets lead to wrong conclusions.
Example: If a page has 5 impressions and 1 click, that is a 20 percent click through rate. That does not mean the page is doing great. It means you have almost no data.
A good rule: Do not make decisions on any query or page with fewer than 100 impressions in the time period you are analyzing. Do not celebrate or panic over small changes. Wait for patterns to emerge over weeks, not days.
Part 5: A Simple Weekly Routine
Here is a 15 minute weekly routine to keep your site healthy.
Monday morning do this:
Open Search Console. Check the Performance report for the last 7 days. Look for any sudden drops in clicks or impressions. If you see a drop, investigate which page or query caused it.
Check Page Indexing. Look for new errors in red. If you see any, note them down to fix this week.
Check Core Web Vitals. Look for any new URLs in the red "Poor" category.
Once per month do this:
Compare the last 28 days to the previous 28 days using the Compare feature. Find your best performing pages and see if you can improve them further. Find pages with high impressions but low click through rate and rewrite their titles and descriptions. Find keywords that are growing and create new content around them.
Once per quarter do this:
Review your removals list and remove any requests you no longer need. Check your sitemap to make sure it includes all your important pages. Run a full URL inspection on your top 10 pages to confirm everything is indexed properly.
Final Bottom Line
Google Search Console is free. It is powerful. And most website owners never use it properly.
If you spend 15 minutes a week following this guide, you will understand your traffic better than 90 percent of your competitors. You will catch problems before they hurt your business. And you will find opportunities that others miss.
Go verify your site. Submit your sitemap. Check your performance report today. The data is waiting for you.


More
more
like this
like this
On this blog, I write about what I love: AI, web design, graphic design, SEO, tech, and cinema, with a personal twist.